Shaping Before Drilling
The following is from a Scott Thile blog post and serves to outline the process of drilling after shaping or freehand drilling. Used here by permission
I like to work pipes through in small batches using one of two different methods--the more traditional method, where I drill with the stummel chucked in the lathe before shaping, and the shape first method, where I shape first, and then drill freehand after the initial shaping. I'm still refining my shape first method, but I'm finally starting to feel more confident with it. The vast majority of these procedures comes from Todd Johnson who was a tremendous help to me in getting started with it.
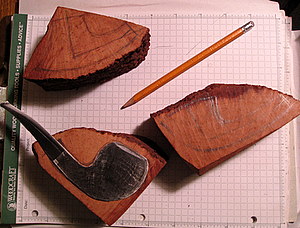
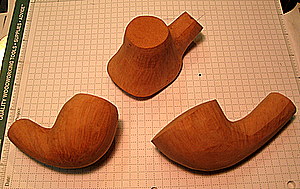
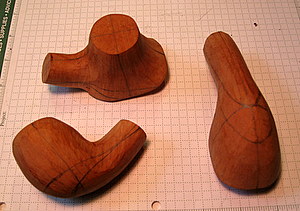
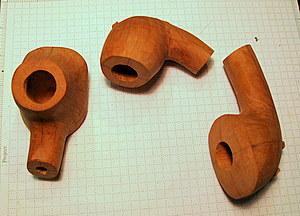
This batch of three freehands on the bench will lend themselves nicely to the shape first method. The advantage of the shape first method is it enables nearly complete freedom to shape to the grain, while also working around any flaws. This is the primary method the Danes use to excellent advantage. I'm convinced it affords the best opportunities for designs like these where grain plays a large role in dictating the shape and very little if any of the stummel can be truned on the lathe.
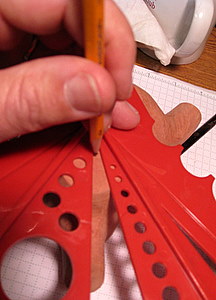
The rough layout of three freehands is depicted in the above right picture , which at least at this stage appear to be heading in the direction of a Volcano, an Eggy Apple, and a Horn. Sometimes I'm working from some sort of a pattern, like with the Eggy Apple. That's actually a cut out print of a pipe I made a while back, which I'm using as a template for my sketch. Often though, I'm just looking at what the block itself seems to be asking for and refining the picture in my mind's eye accordingly, which is the case with the Volcano and Horn.
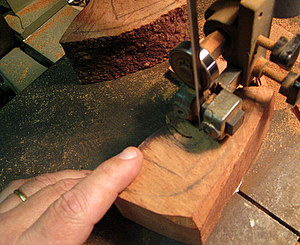
After sketching the basic shapes on the blocks I take them to the bandsaw to cut them out.
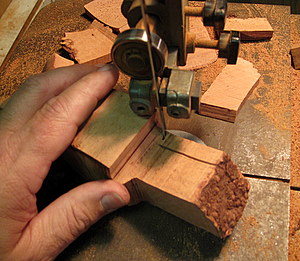
Depending on what is reveled in the initial cuts, I then I lay out where to cut the waist away for the shank, but leaving plenty of material in case I have to tweak for grain or flaws.
Then back to the bandsaw where I trim the waist for the shank and see what that might reveal in the way of deal breaking flaws or other maladies.
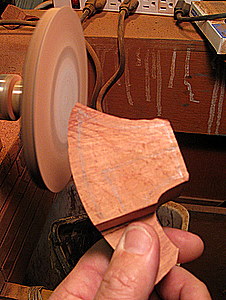
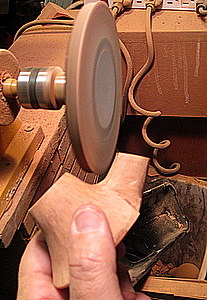
Assuming we still have workable stummels, which is the case here, I can now start in with the sanding disk. This is where things really start to get interesting:
You can start to see grain as well as any flaws that need to be avoided (or removed) and we start to see the beginnings of the shape taking form. Care must be taken not to end up with a shape that can't actually be drilled (don't ask me how I know;). And one wants to leave plenty of room to tweak things in after the drilling takes place.
Now, we have the roughed in stummels. The next step is to lay out lines and mark them for freehand drilling:
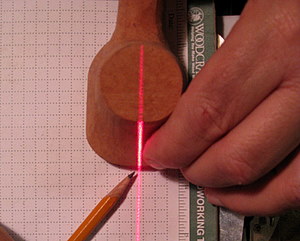
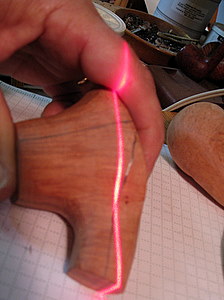
I use several tools for laying out lines. First I find the approximate center for the chamber and mortise, then I draw a line bisecting the entire pipe using a laser level as a guide:
Next I lay out the guide lines for the mortise and draft hole as well as the chamber, also using the laser as a guide. That provides all the guide lines we need, as well as the intersection points. The intersections, and especially the line that bisects the entire pipe are the most critical in terms of facilitating perfectly aligned chamber and draft holes. This is still a very time consuming and somewhat agonizing process for mel. I'm hoping it will become more intuitive over time. The laser really helps to lay out straight lines on the curved surfaces--My pipe maker friend, Jack Howell gave me this tip, thanks Jack!
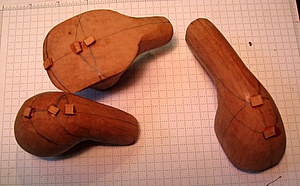
Another pipe making friend, John Crosby came up with the idea of gluing little chunks of briar at the intersection points to protect the stummel from the sharpened guide pin used as a guide in the drilling process, and this also give the pin a little more purchase at a better angle. Todd Johnson uses a dab of epoxy for this, which also works well.
Warning: At this point I would be remiss if I did not mention that this process I'm about to show you is not entirely safe, and it would be easy to get hurt, especially if you tried it without having the proper tools (don't try this without the custom made chamber bits). If you do try this, please be carfeul, and be forewarned!. Having said that, with care and the proper tools it is really not as dangerous as it looks, but it is scary the first time or two!
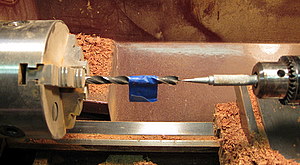
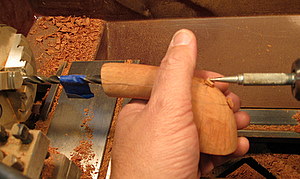
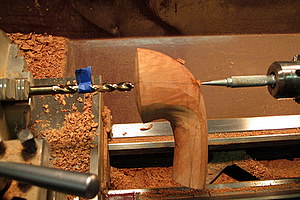
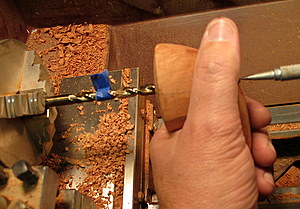
Here you can see the theory of how we keep the drilling aligned using a guide pin chucked into the tail stock. As long as your intersection points line up correctly on the stummel, and your guide pin and drill point align, and the guide pin is stuck into the intersection point where the two plains meet at the end of the stummel, then everything is kept in proper alignment, and if all goes well, we have perfectly aligned chamber and draft holes even while drilling free hand. I know, that's a lot of ifs! But it really does work....
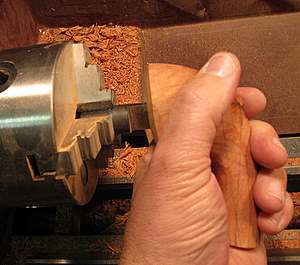
And here we are lined up for the mortise on the Horn. You can see the tape, which serves as a depth gauge. The tail stock is free and can slide. It's used to push and guide the stummel into the spinning bit with the right hand, while the left holds the stummel against the guide pin, while also helping to hold and push stummel against the bit:
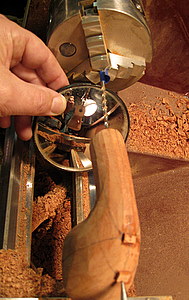
Here I'm setting up for the draft hole using a mirror to make sure I'm in the center of the mortise. Tape is used again as a depth gage. This is tricky! I'll sometimes hand drill the draft hole slightly to get it started. It's very difficult to see where the drill is relative to the bottom of the mortise, and yet it's critical to have it centered. Sometimes it's necessary to relieve the bottom side of the mortise first to make have room to drill the draft hole at the correct angle:
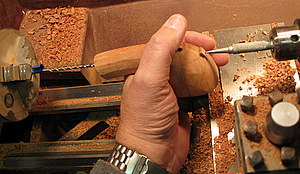
Drilling the draft hole, using the tailstock again to push and guide the stummel as before:
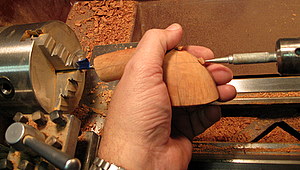
Now we're ready to drill the chamber. I use a 5/16" spur tip drill first to provide a guide hole, again using the tailstock as a guide:
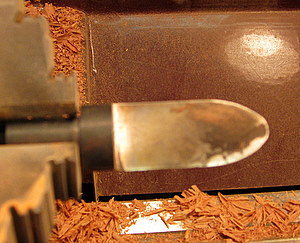
The actual chamber is then drilled using a custom chamber bit made by Brad Pohlmann. The first one I use is my smallest (11/16"), which I have left somewhat pointed so it cuts well, and is easier to steer. I use this freehand as it follows the guide hole nicely. I can also correct some as I go if needed:
You can see the nicely aligned drilling in the bottom of the chamber. Next I follow the 11/16" bit up with the final diameter bit. In this case a 3/4" bit. You can see that the final bit has been rounded slightly in order to provide a more rounded shape in the bottom of the chamber.
And, we now have drilled rough shaped stummels:
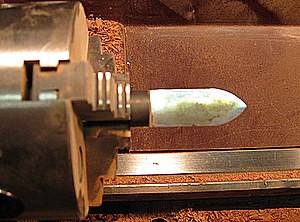
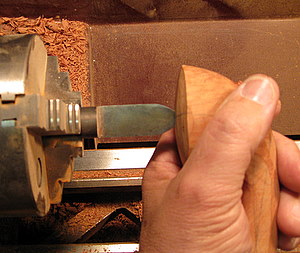
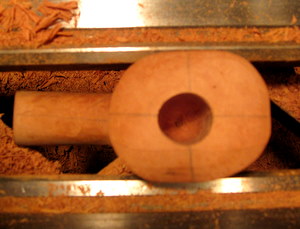
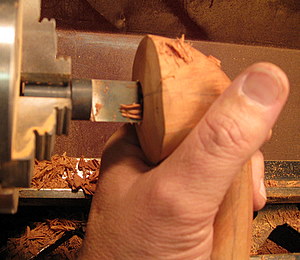
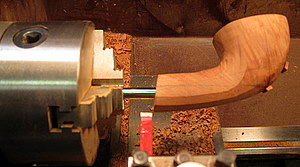
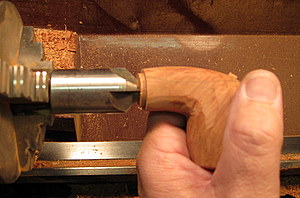
Next we need to square the shank face relative to the mortise to provide a perfect surface for meeting the stem. In order to do this I use a pin gauge that fits the mortise snugly, and chuck it into the headstock:
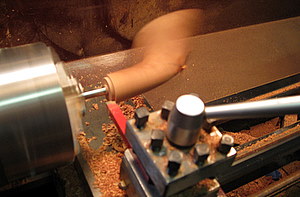
It can be tricky to get enough clearance for the stummel as it spins and still get in with the tool. For this batch, a straight bit worked fine. Sometimes though I need a longer narrower bit to reach in, and in that case I use a parting tool. The parting tool I have tends to be a little too flexible, and therefore less accurate for facing, but it also gets the job done (I'm looking for a better option). After facing the shank I will sometimes turn a small portion of it as a guide for latter shaping:
I'l leave the very inside edge of the shank face to clean up when I countersink the mortise.
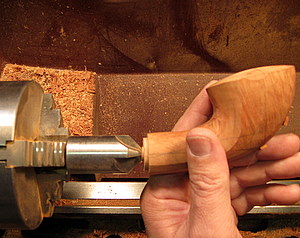
Here the countersink s chucked up and the stummel in position:
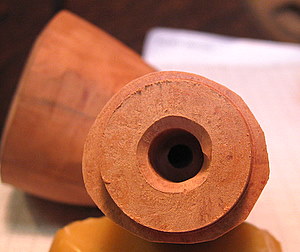
And here is the shank face and mortise after the above operations:
You can see that I'll still need to carefully sand the face and clean up the mortise countersinking a bit, but if all went well with the facing, the stem remarkably well at this point.
We are now ready to make the stems, and will continue with the shaping once the stems are roughed in and on the pipes.
Warning: I would be remiss if I did not mention that this process is not entirely safe, and it would be easy to get hurt, especially if you tried it without having the proper tools (especially the custom made chamber bits). So, don't try this at home, or if you do, please be carfeul, and be forewarned!. Having said that, with care and the proper tools it is really not as dangerous as it looks, but it is scary the first time or two!
